4 Tips For Taking Shade Photos
- magellandentalarts
- May 26, 2016
- 1 min read

When we receive photos from our doctors we not only look at the shade of the adjacent teeth, we also look for the angulation of the tooth, shape of the tooth and any other distinguishing characteristics.
Here are some tips to have your restoration come back like you had a technician personally take the shade for your patient.
1.) Lighting:
Lighting can affect your shade choice by 1-2 shades difference. Making sure you have natural light mimicking light bulbs or are close to a window is the best way to take a photo.
2.) Include the shade tab(s) in the photo:
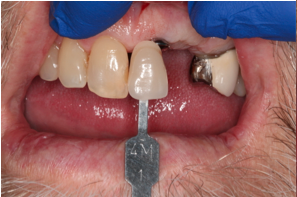
It helps when the shade tab is included in the photo and what helps us even more is that you take several photos with several different shades
3.) Angulation:
Try taking the photo from different angles, this helps show the characteristics of the tooth. Characteristics such as “cracking”, regional discoloration and translucency.
4.) Show from incisal to cervical in the photo:
Many teeth can take up to 3 shades (or more) to match the adjacent tooth. Taking a photo with different shades helps us see what shades are composing the colour but also including the whole tooth from incisal to cervical allows us to see where the tooth differs in colour, translucency, characteristics and shape allowing us to best match the original tooth/teeth.
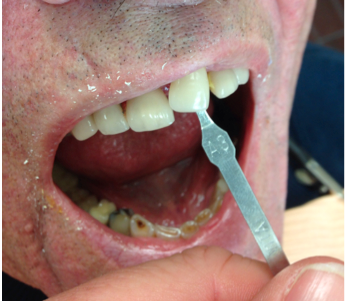
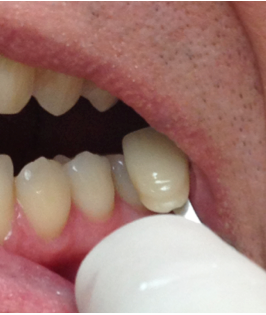
Example of least helpful photos:
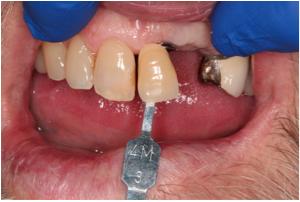
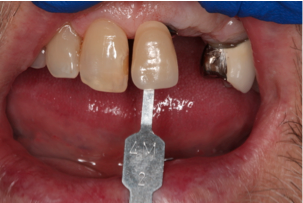
Examples of most helpful photos:




Comments